 At Kwik Kopy we live and breathe printing, so it can be easy for us to forget that not everyone knows about ‘bleed’ or what a registration bar is used for.
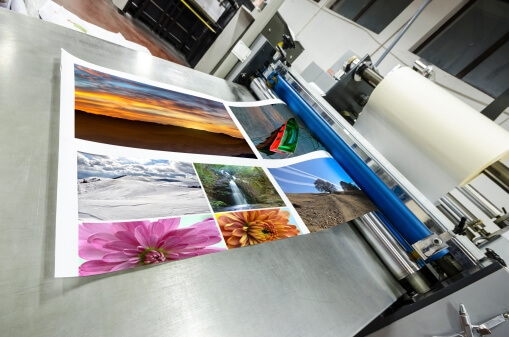
With this in mind, we put together this little guide to help you understand when (and why!) you need to use things like printer marks and registration bars.
Printing 101 –
A Beginner’s Guide to Printer Marks and Registration Bars
Registration Bars
These are sometimes called ‘registration marks’ and look like a circle with the crosshairs through it. The registration bar is printed outside the design area and is used to show whether the job is printing correctly.
The registration bar is printed using each of the four colours used in the printing process and when the print job is printing correctly, the marks line up perfectly and appear black. If the print job is misaligned then one – or more – of the colours will be off centre and separate from the black line, which will alert the printer that something is out of sync.
The registration bars can also be used to align other machines that trim, fold and glue your finished printed materials.
Printer Marks
Crop Marks
Sometimes called ‘trim area’ – crop marks are pretty self explanatory. Crop marks are offset from the edge of the finished print product and instruct where to trim the finished product to its final size.
Bleed Marks
Bleed marks look the same as crop marks, but instead of signalling the finished cut size they signal the allotted bleed area of the print. Read here for more information about bleed.
Slug Area
The slug area is everything outside the finished edge of your design. Bleed marks, registration bars and crop marks all appear within the slug area, as well as any other information you might want the printer to see, but that will not be part of your final printed product.
For everything you need to know about the printing process, contact the team at Kwik Kopy today!